So after moving into our new house we realized we had no shades.... I swear there were some hung when we viewed the house, but they were no longer residing in our house once it was ours. Now having lived here for a little over a month, it's come to the point that we NEED shades. I'm not allowing the pictures sitting on the window sills to cut it anymore. So I did my surfing on the web & perusing of pinterest to find some ideas on what to do for window treatments. I like blinds, but I like white wood blinds, and we have wood stained trim throughout the house....white & stain....don't combine for window treatment. And I was truly leaning toward the roman shade look. I found several tutorials on roman shades, some easy, some slightly difficult, some difficult to understand instructions, and others I just didn't want to put in all the effort because of my lack of time anyway. So since I had difficulty understanding some of these diy tutorials, I've decided to make my own. I hope the instructions are easy to understand. If you have any questions please feel free to ask.
:: DIY Blinds into Roman Shades ::
Things you'll need:
- set of blinds
- fabric of choice
- fabric-tac glue
- scissors
- something heavy
- iron
- space
- & a little bit of time
1. You'll need to measure the length & width of your window. At this step you must decide if you want the shade to hang inside the window frame or on the window frame.
2. Go buy you some blinds. If you can find cheap ones that will work for your window, great! Target has like $4 blinds, and you can pay about the same from some of the dollar stores. Due to the type of windows I had, and the fact I wanted my shades to hang inside the window frame I had to get blinds that hung in a unique fashion....and I will say, if ever I hang blinds or do this tutorial again in another house, these will definitely be the blinds I purchase. I got them from Kmart...Bali Window Solutions.
3. Next pick out some fabric that you like. When purchasing your fabric remember to accomodate for roughly 3 inches extra on each side. [so if your window is 23" x 64", then you would want your fabric to be about 29" x 70"]
4. Release your blinds so they hang as far down as the string allows. Then lay flat on the floor.
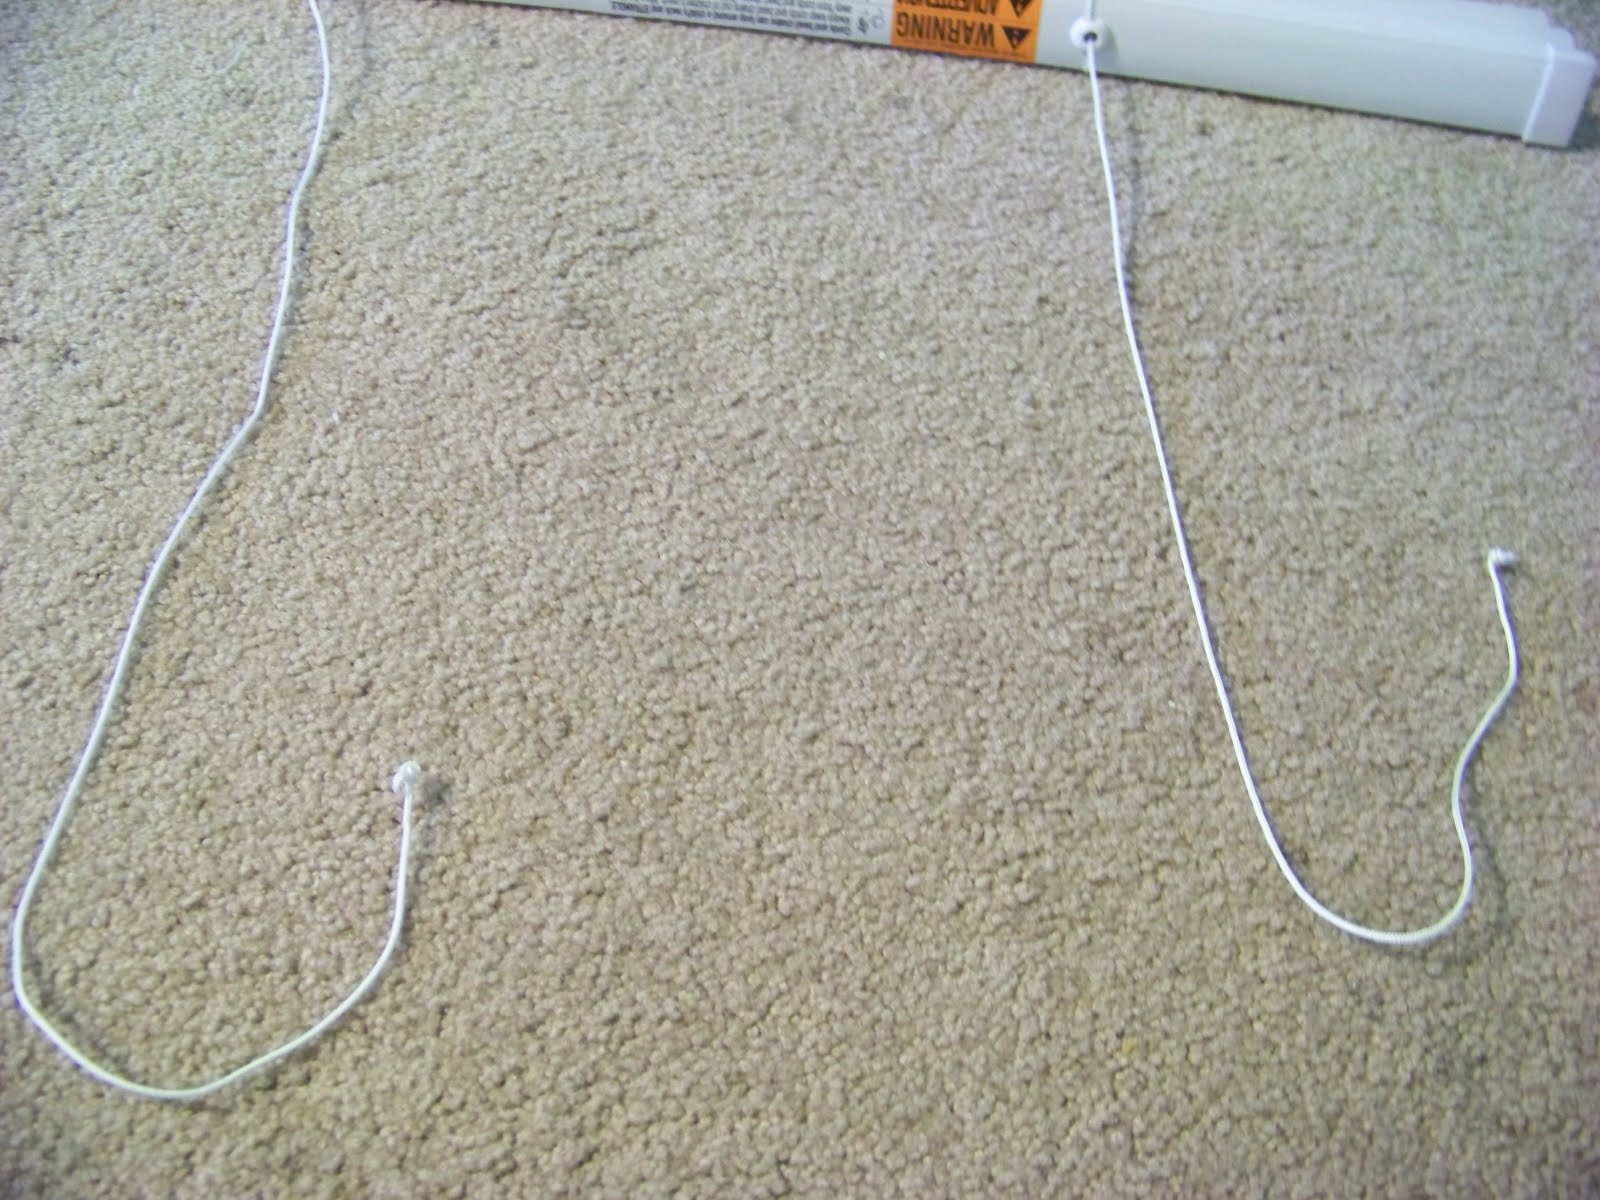
5. Now you will want to cut off the strings {outer strings} that hold the blinds in place. Usually there are two sets, unless your blinds are wider, then you may have three. It's easy if you snip from top, lift the top string & continue to cut the mini strings between the blinds from top to bottom. {Be careful no to cut the thicker string that runs through the middle of all the blinds....you cut this...you buy another set of blinds}
6. Deciding point & Using mathematics :: how far apart do you want your folds. Typically they are 6-9". I personally don't see why you can't go up to 12", especially on longer windows. I went with 9". Divide your total inches by wanted fold inches to determine the number of blinds you'll need to keep.
7. Now at this step you have 2 options::
a) Proceed with cutting off all the individual blinds you do not want to keep.
{Reminder: avoid cutting the thick string through the middle of the blinds}
b) Find the knots at the bottom of the blind. Undo. Remove bottom bar & remove all the blinds you do not need. Then you will need to replace the bottom bar & re-tie the knots.
{ personal preference:: I like option A. because tying those knots back at the exact measurement on both sides is stupid hard & took up too much of my time ..yes I have tried both options--if your windows are shorter than the standard window length, your best option is B....otherwise always choose A & be careful around those middle strings }
[side note: if you go with option B, once you have re-tied the knots, be sure to melt the ends of the string to prevent unraveling]
8. Now your blinds should look something like this.
((please ignore ugly red stain))
9. Cut your fabric to size. Remember to alot about 3 inches extra on each side.
10. Lay your blinds face down on the backside of your fabric. Be sure the curved part of the blind is laying on the fabric.
11. Now you need to spread your blinds apart & measure equal distances between each piece. Since I decided on 9", I kept 6 individual blinds for a 64" shade.
Be sure when measuring, to line up the ends of your blinds with a measuring tape on both ends....you don't want crooked shades.
12. Place a large, flat dot of fabric-tac glue on each end of the blinds, and on top & bottom. Then fold over edges so they are tight against the edge of the blind.
13. Place something heavy over glued areas. This will ensure your fabric will adhere to the top & bottom curves of the blind. { I used my hand weights }
14. Glue down the bottom bar next. Be sure when you glue this down, you glue it as it would hang normally. So the front edge of the bar needs to be glued first, then the edges.
bottom & back edge
placing glue along the front edge
15. To cover the bottom & back edge, I made folds like I was wrapping a present & thoroughly glued down.
16. Glue the front edge of the top bar down to the fabric. Fold & glue fabric across the top as well (optional). The hardware to hang my shades would not allow for me to complete the last part of this step, but for most blind sets you should be able too. Also, be sure not to glue down your pull strings...keep them out of the way.
17. Once everything is dry, iron your edges. This allows for easier folding when you raise the shades.
18. Hang your shades as your directions instruct you.
19. Enjoy your beautiful new 'roman shades'!
I love mine!
Here is one I did with the fabric completely covering both sides of the shade. It turned out looking great, but I do not suggest doing this. It has made the shade too heavy & is difficult to get the shade to stay up due to the weight. The only way it may work is if you use a very lightweight fabric.